
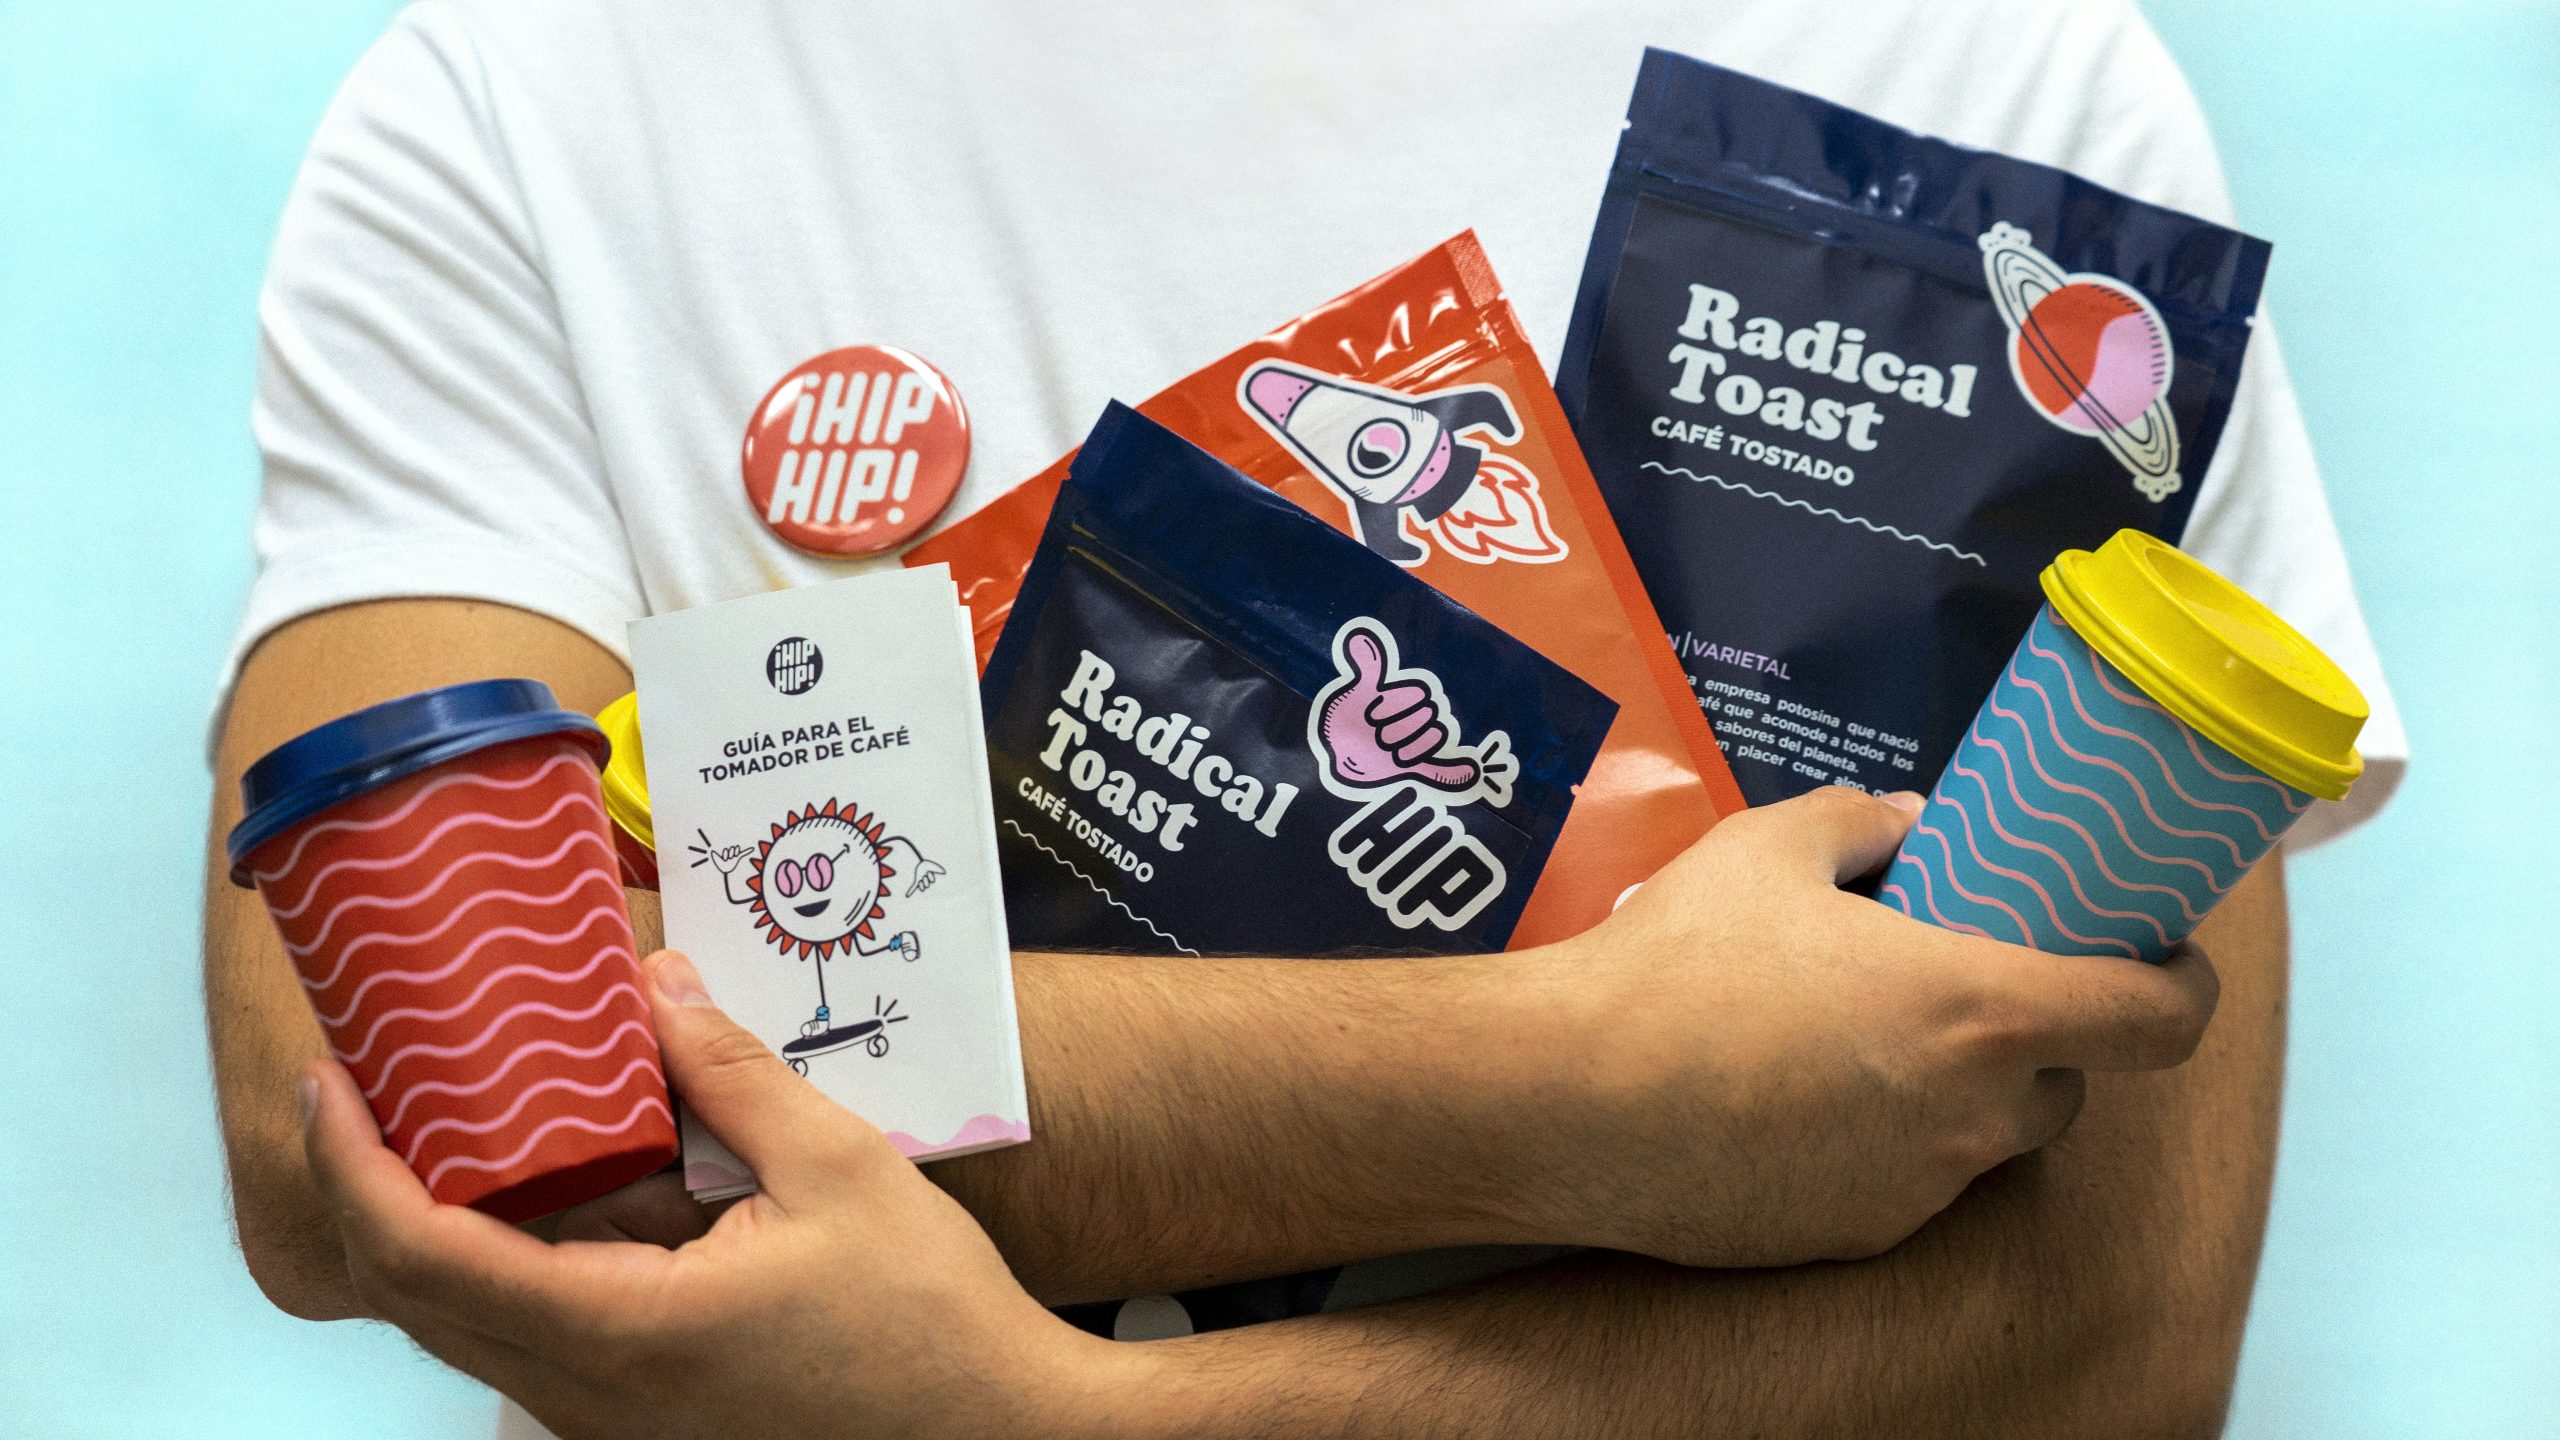

Deciding to get custom packaging is a great step forward. But before you reach out to a designer, you should take time to prepare. There is quite a bit of homework to be done before the first draft is done. If you don’t do this step, you may spend many weeks going back and forth on things that could have been decided in a single afternoon.
Contacting designers is one of the last steps in this new packaging creation process, yet many people want to start there. Do not start there. Get everything in order first, and the entire process will be a lot easier.
Know What You’re Packaging
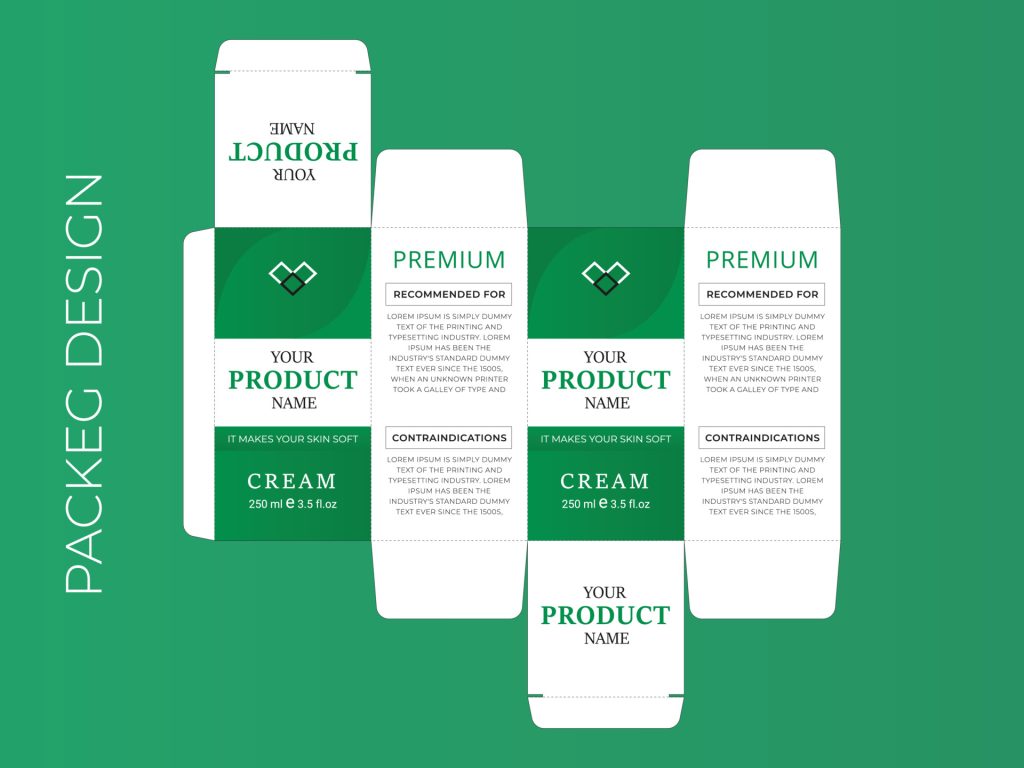
It sounds obvious. Still, many people begin a design project without clear details about the product itself.
Before anything else, write down:
- The product’s size and weight
- How it needs to be stored, such as cold, dry, or stacked
- Any legal info that must appear on the box
- How many units do you plan to order
These details shape everything. A designer can’t pick the right box style or layout without them. Size and weight alone can change the whole box type.
Get Clear on Your Brand
If you have a brand guide, pull it out now. Actually, even a simple doc with your logo, colors, and fonts will do. Designers work best when they have something solid to start from.
No brand guide yet? That’s okay. Just jot down a few things:
- Your brand colors or colors you like
- Fonts you use or prefer
- The feel you want the box to give off: fun, clean, bold, cozy
- Brands or packaging you love and want to borrow ideas from
The clearer you are here, the faster the design process goes. Vague input leads to many revisions you didn’t budget for.
Understand the Box Type
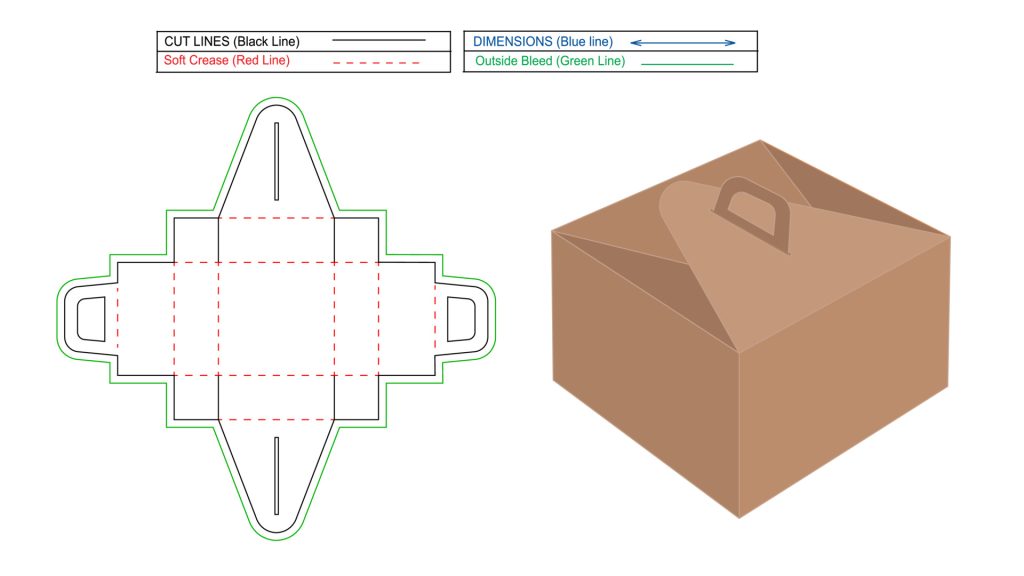
Not all boxes are built the same. A tuck-end box works in a totally different way than a rigid box or a mailer. Each type has its own flat template called a dieline. That dieline shows exactly where the cuts, folds, and glue tabs go.
Get the dieline from your packaging supplier before the designer starts. Don’t let your designer guess at the dimensions. That’s how artwork ends up not fitting the actual box. Also, ask your supplier about their print method. Digital and standard print setups handle files differently, so it’s good to know upfront.
Sort Out Your Images and Files Early
Low-res images can fool you. A photo may look clear on your screen, but print blurry and muddy on a box. For that reason, you need high-res files with at least 300 dots per inch at the full print size.
Bring together all your images, product photos, and graphics before the designer starts. Then check each one with care. If a file looks fuzzy when you zoom in, then it will not print well.
Your files also need to use the right color mode. Screens display color in RGB. Printers use CMYK. Your designer should work in CMYK from day one. That step saves time and avoids unnecessary back-and-forth later.
Write Out All the Text
Don’t leave a copy till the last minute. Pull together every word that needs to go on the box:
- Product name and tagline
- Ingredients or materials
- Instructions or warnings
- Barcode info or website
- Social handles
Get someone to proofread it before it goes to the designer. Fixing a typo in a doc takes seconds. Fixing it after the box is printed costs real money.
One Last Thing Before You Hit Send
Before briefing the designer, check in with your packaging supplier again. Ask them if they have any file setup rules or templates you should know about. Some suppliers require certain fonts to be outlined. Some require certain layers to be separated.
A quick call can save you a large amount of time in the future. It’s the little things that make the biggest difference when it comes to your peace of mind.
Now you can set everything up to get your project off to a solid start. Your designer will appreciate it, and your timeline will, too.